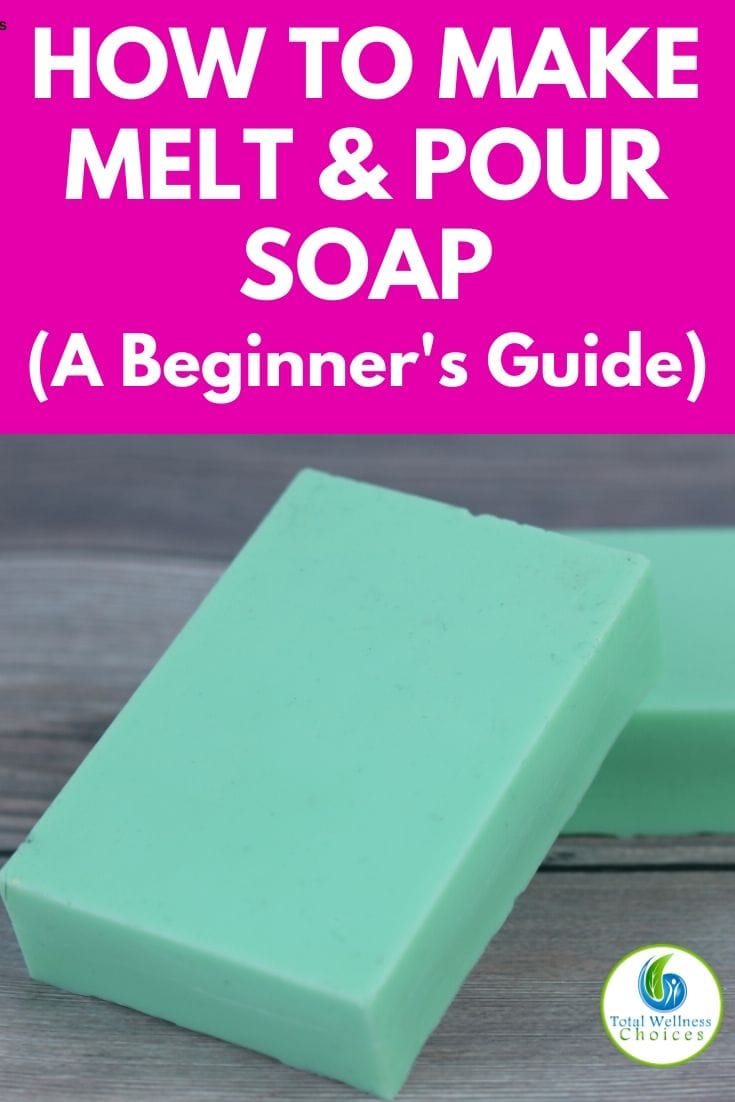
Melt and Pour Soap Making for Beginners

DIY Orange Creamsicle Loofah Soap Recipe
November 13, 2019
DIY Chocolate Sugar Scrub Soap Cubes Recipe
November 29, 2019Melt and Pour Soap Making – A Beginner’s Guide + DIY Recipe!
Learn how to make soaps at home with this melt and pour soap making tutorial for beginners that includes the supplies you need, step-by-step directions and a simple DIY recipe.
Making melt and pour soap, also called glycerin soap, is a fun craft to learn. It’s fairly inexpensive, and you don’t need a lot of supplies or ingredients to get started.
It’s quicker and easier to make than cold process soap or hot process soap.
If you’re new to soapmaking, traditional soap can be intimidating because of the delicate balance of fats, water, and lye.
Since melt and pour soap is premade soap, you don’t need to calculate percentages of oils or worry about whether you need to add the lye to the water or the water to the lye.
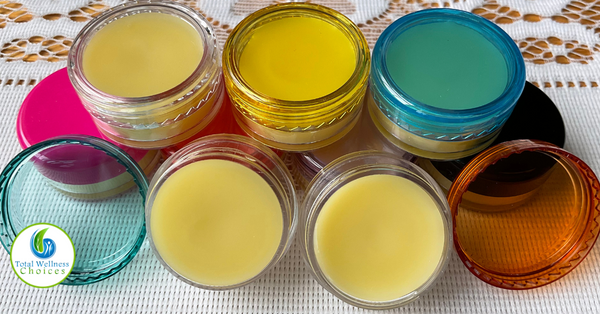
Although you can’t change the formula of the soap, you can customize your bar of soap. You can add colorants, fragrances, and other additives to make a unique bar of soap.
There are several molds available for soap, so you can even change the shape of your soap with each batch.
Related:
- Mint Chocolate Cupcake Melt and Pour Soap Recipe
- DIY Orange Creamsicle Loofah Soap with Melt and Pour
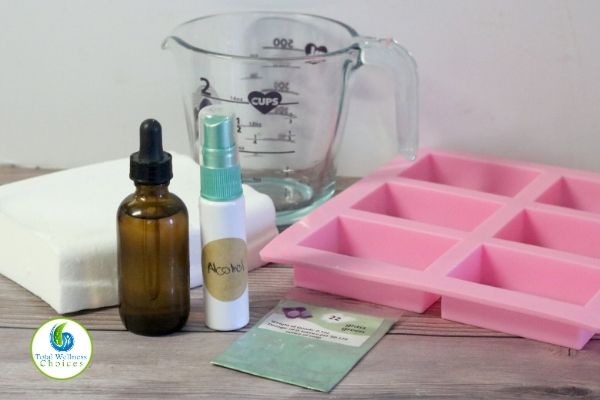
Melt and Pour Soap Making Supplies
Melt and Pour Soap Base
Melt and pour soap comes in blocks of one, two, or more pounds. Although you don’t get to choose the recipe for the soap, you can choose a base with ingredients to fit your needs.
White and Clear Base
Probably the most common type of melt and pour is the traditional white and clear blocks. These are basic soap bases that are odorless or almost odorless, so you can add fragrances.
It’s a good bar of soap, but it’s not particular moisturizing unless you add more oils. You can change the color by using a colorant and add different additives to make it a custom bar though.
Castile Soap Base
For sensitive skin, try a castile or olive oil soap base. These are made with olive oil, so they are mild and great for sensitive skin or kids. These bars tend to be firm and don’t give off a lot of lather when you use them.
Shea Butter Soap Base
If you want a moisturizing and nourishing bar of melt and pour soap, try a shea butter base. These have shea butter, which is an emollient and excellent for dry skin.
Goat’s Milk Soap Base
Goat’s milk soap base is moisturizing and high in fats. The fats in this soap have vitamins and minerals that nourish the skin.
Suspension Soap Base
You can add different things to your soap like dried herbs, ground oatmeal, and even ground nuts. These tend to fall in the soap as it cools, but you can a suspension base to keep additives suspended as it cools.
Shaving Soap Base
Melt and pour soap doesn’t have a lot of lather. If you want to make a shaving soap, use a shaving soap base for more lather. It gives off a creamy lather that’s perfect for shaving.
Oatmeal Soap Base
Oatmeal soap base has ground oatmeal in it for an exfoliating bar of soap. It’s gentle, but it works to remove dead skin cells from the top of the skin.
Colorant
Food Coloring
If you want to color your soap, you may be tempted to use food coloring since you probably already have it. It will work, but it doesn’t give your soap a vibrant color. It also tends to fade over time, so I don’t recommend using it.
Soap Colorant
Liquid soap colorants are water based and give you more vibrant colors than food coloring. You can also use a color block, which is a solid piece of soap colorant.
Mica
Mica is a natural mineral that can be used to color DIY bath and body products, including melt and pour soap. It gives a pretty color that can sometimes be shimmery.
Fragrance
Fragrance Oils
Fragrance oils are made from synthetic and natural ingredients. There’s a wide variety of scents available. Just make sure you are using ones that are soap or skin safe in your melt and pour soap.
Essential Oils
Essential oils are natural, so some people prefer to use them. They should be used for their aromatherapy benefits in soaps. Be sure to use only essential oils that are skin safe.
You can add up to 1 teaspoon of either fragrance oil or essential oil per pound of melt and pour soap.
Additives
You can add 1 to 2 teaspoons of an additive to melt and pour soap base. There are several things you can add to melt and pour soap, but it’s very important that they be completely dry or you risk growing mold in your soap.
Do not add dried flowers except for cornflower or calendula.
You can add the following to melt and pour soap safely:
- Milk powder
- Cocoa powder
- Ground oatmeal
- Ground almonds
- Carrier Oils
- Butters (shea butter, cocoa butter, mango butter)
- Dried herbs
- Jojoba beads
Molds
You can use plastic or silicone soap molds as long as they are safe for high heat. There are many silicone soap molds available to make decorative bars of soap.
I prefer silicone molds because they are easier to remove from the mold. If you use a plastic soap mold, the soap may be harder to get out of the mold.
You can freeze the set up soap for 15 minutes to shrink it slightly so it will release.
How to Make Melt and Pour Soap
Ingredients
- 1 pound of melt and pour soap
- 1 teaspoon fragrance oil or essential oil
- 1 teaspoon carrier oil, body butter, or other additives (optional)
- Mica or soap colorant
Tools
- Knife
- Microwave safe bowl
- Laser thermometer
- Spoon
- Soap mold
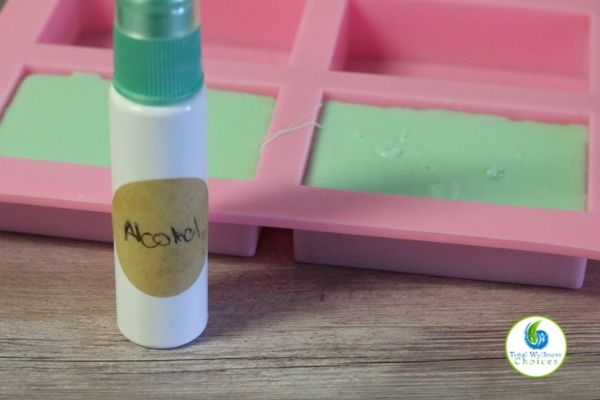
- Spray bottle with rubbing alcohol
Instructions
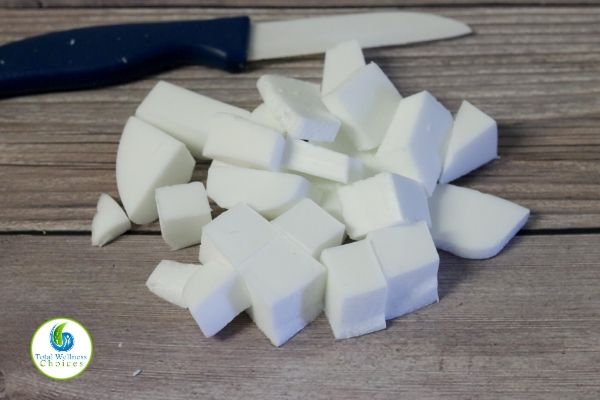
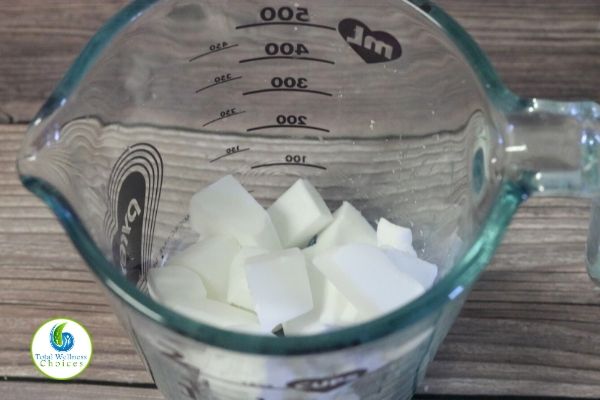
Cut the soap base into 1 inch cubes.
Place the soap into a microwave safe bowl. Microwave on high for 30 seconds at a time. Stir between intervals. Heat until just melted and do not let it boil. If it boils, it can turn rubbery when it hardens.
Let the soap cool to 120 degrees.
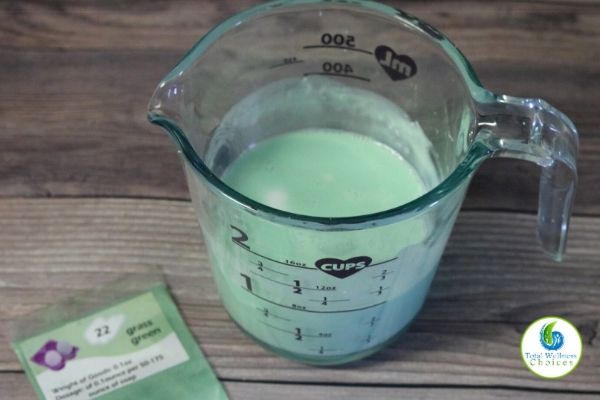
Add color, scent, and any additives that you are using. Stir well.
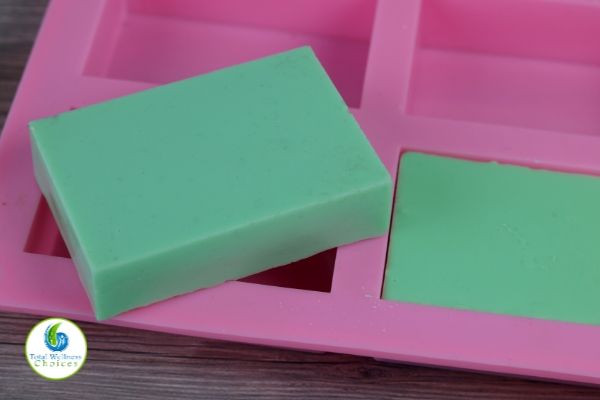
Pour the soap into your mold.
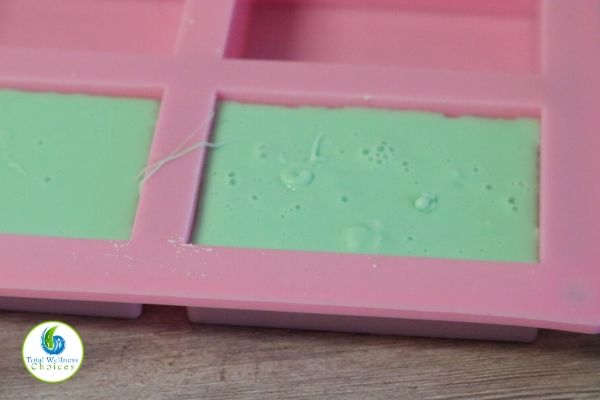
Spray with rubbing alcohol to remove air bubbles.
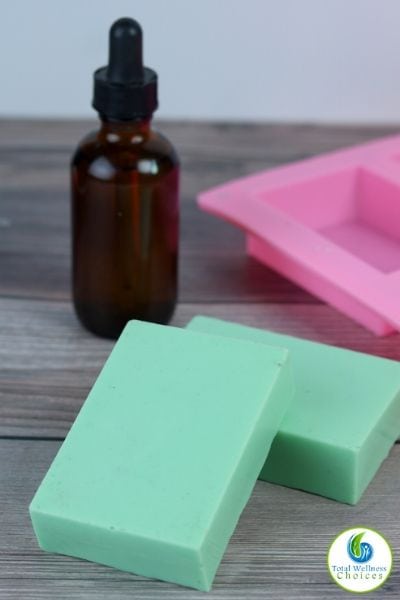
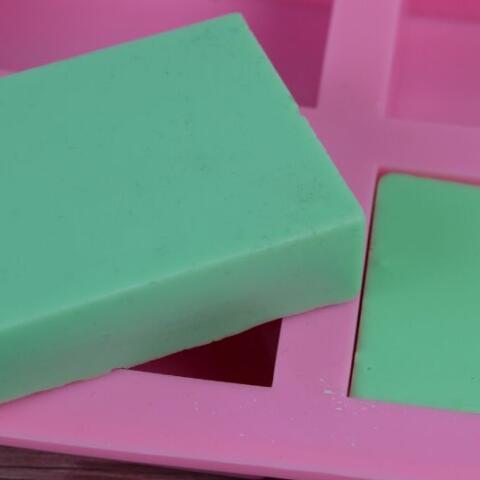
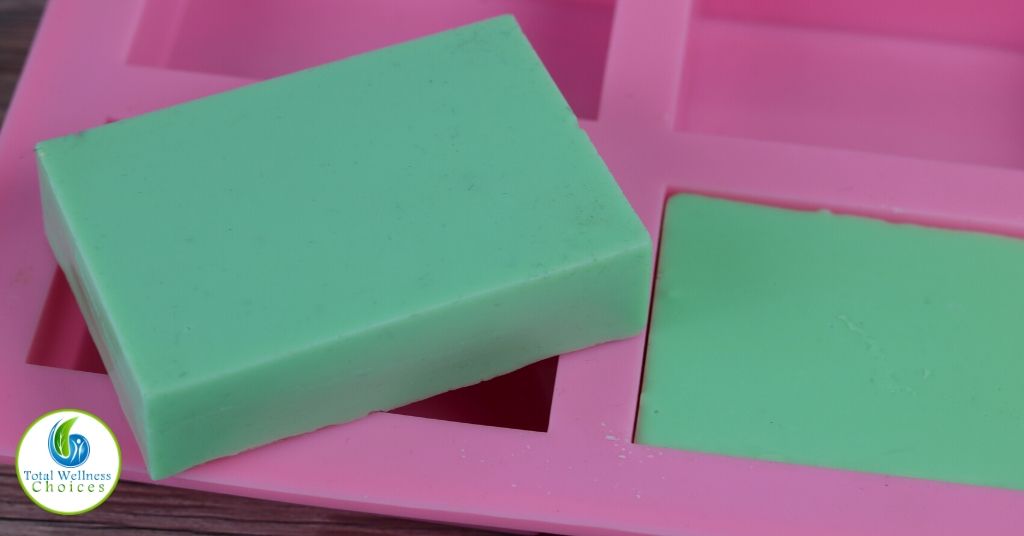
Let cool completely. Remove the soap from the mold.
You can use melt and pour soap immediately after it cools.
Melt and pour soap is great to use for the body, but it can be too drying for the face. Be sure to let it dry completely between uses. If it sits in water, it can dissolve and become slimy.
Melt and pour soap will attract moisture from the air. Store soaps wrapped in plastic wrap to avoid sweating.
Melt and Pour Soap Making for Beginners
Learn how to make soaps at home with this melt and pour soap making tutorial for beginners that includes the supplies you need, step-by-step directions and a simple DIY recipe.
Materials
- 1 pound of melt and pour soap
- 1 teaspoon fragrance oil
- 1 teaspoon carrier oil, body butter, or other additive (optional)
- Mica
Tools
- Knife
- Microwave safe bowl
- Laser thermometer
- Spoon
- Soap molds
- Spray bottle with rubbing alcohol
Instructions
- Cut the soap base into 1 inch cubes
- Place the soap into a microwave safe bowl.
Microwave on high for 30 seconds at a time.
Stir between intervals. Heat until just melted and do not let it boil. If it boils, it can turn rubbery
when it hardens. - Let the soap cool to 120 degrees.
- Add color, scent, and any additives that you are using. Stir well.
- Pour the soap into your mold.
- Spray with rubbing alcohol to remove air bubbles.
- Let cool completely. Remove the soap from the
mold.
Notes
Store soaps wrapped in plastic wrap to avoid sweating because melt and pour soap attracts moisture from the air.
I hope you found this melt and pour soap making guide helpful. Leave your feedback below.


Comments
Melt and pour soap is such an easy and fun way to explore soapmaking and start a new hobby!